We accept:

How to record gameplay on PC : A beginner's guide for new creators
This form is protected by reCAPTCHA - the Google Privacy Policy and Terms of Service apply.
Don't have an account?
Creating an account has many benefits: check out faster, keep more than one address, track orders and more.
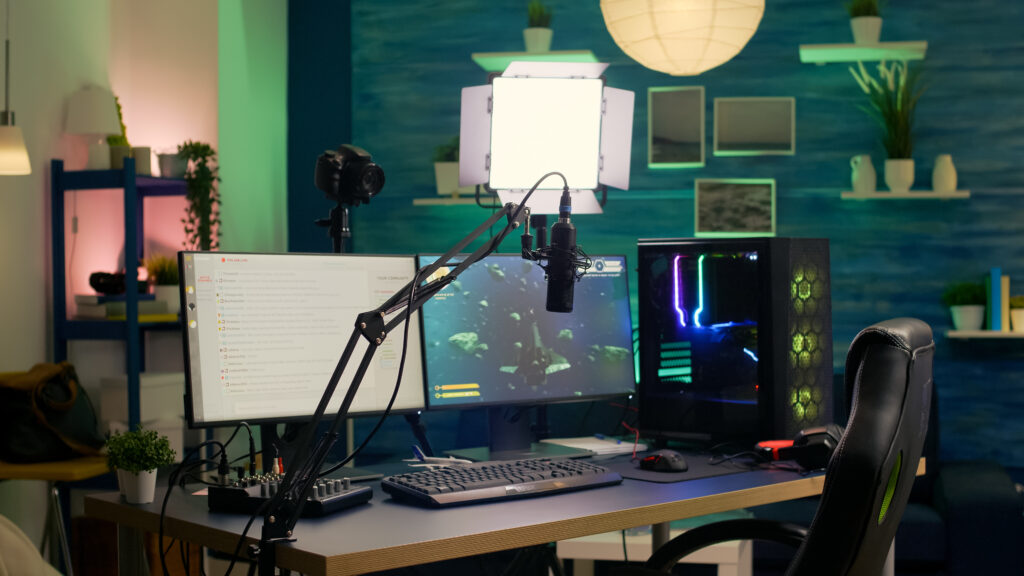
Recording gameplay on PC can look complicated, especially when you look at any of the top YouTubers or Twitch streamers and see how perfect their lighting is, how flawless their video and audio quality is and how well curated their gaming space is.
If you’re new to PC gaming, streaming, or content creation, it’s easy to assume you need expensive gear or advanced knowledge. In reality, most creators start with tools already sitting on their system.
This guide walks you through how to record gameplay on PC, starting from the simplest options to more flexible setups, so you can start creating without overthinking it.
Interested in getting started with streaming?
First: Decide what you're recording for
Before choosing software, ask one simple question: what’s the end goal?
- Short clips for friends or social media
- Full YouTube videos
- Live streaming on Twitch or YouTube
This matters because recording a 30-second clip and streaming for three hours place very different demands on your PC. Knowing your goal early on saves you from using tools that are either overkill or too limiting.
Option 1: Recording gameplay using Windows game bar
If you’re on Windows 11, you already have a built-in screen recording tool.
Xbox Game Bar lets you record gameplay by pressing Win + Alt + R. It’s quick, simple, and requires no setup.
Best for:
- First-time recording
- Quick gameplay clips
- Minimal fuss
Limitations:
- Limited video quality control
- No advanced audio or scene options
- Not ideal for long sessions or streaming
Game Bar is the fastest way to record gameplay on PC, but if you’re looking to regularly create content, you’ll outgrow it quickly. You also can’t use the Xbox Game Bar if you’re streaming to YouTube.
With Windows 11, you can also press Win + Shift + S to open the Snipping tool. Click the camera icon and draw a box over the elements you want to record. This is quick and easy but gives you limited options over the recording.
Option 2: Recording gameplay with OBS Studio
If you’ve ever wondered how YouTubers record their gameplay, OBS is usually the answer.
OBS Studio is free, powerful, and widely supported. It can record gameplay, desktop activity, webcam footage, and microphone audio, all at once.
It’s often described as intimidating, but at its core, OBS is just a well-organised toolkit. Like a Swiss Army knife, you don’t need every tool on day one. OBS gives you a lot of control over what you broadcast, from video to audio, allowing you to create scenes that can incorporate graphics, animations and video within video.
Best for:
- YouTube videos
- Streaming on PC
- Growing your setup over time
Basic OBS settings that actually matter
You don’t need to touch everything. Focus on:
- Base resolution: Match your monitor
- Frame rate: 60fps is a safe standard
- Encoder: Use hardware encoding (NVENC or AMD equivalent)
Encoding is just how your PC packs video data. Efficient packing keeps your content smooth. OBS gives you room to grow without forcing complexity upfront.
Option 3: Using a capture card
Capture cards record gameplay using internal or external hardware, often associated with consoles, but they can be useful on PC too.
They make sense if:
- You’re streaming from a second PC
- You want minimal performance impact on your gaming system
- You’re recording console and PC gameplay together
Capture cards are optional tools, not beginner requirements.
Will recording gameplay hurt performance?
This is one of the biggest worries for new creators, and a fair one.
Recording does use system resources, but modern GPUs handle it efficiently when hardware encoding is enabled.
Performance impact depends on:
- Game settings
- Encoder choice
- Resolution and bitrate
With sensible settings, most PCs can record gameplay without noticeable FPS loss.
What equipment do you actually need to record on PC?
Here’s the honest answer:
Minimum setup:
- A gaming PC
- Recording software
- A headset or basic mic
Nice to add later:
- Dedicated microphone
- Webcam
- Lighting
You don’t need studio gear to get started. Many successful creators didn’t have it at the beginning either. Software matters more than hardware when you’re starting out.
How do YouTubers record their gameplay?
Most follow a simple workflow:
- Record gameplay using OBS
- Capture mic and game audio separately
- Edit the footage
- Upload and refine over time
What changes isn’t the software, it’s the experience. The tools stay the same; confidence and polish come with practice.
Start simple, then build
If you’re wondering how to record gameplay on PC, the most important step is simply starting.
Use Windows Game Bar if you want instant results. Move to OBS when you’re ready for more control. Upgrade equipment only when you know why you need it.
That’s how most creators begin, simply, and one recording at a time.